



組立説明書
ディスプレイ台への
取付け作業を行う前に
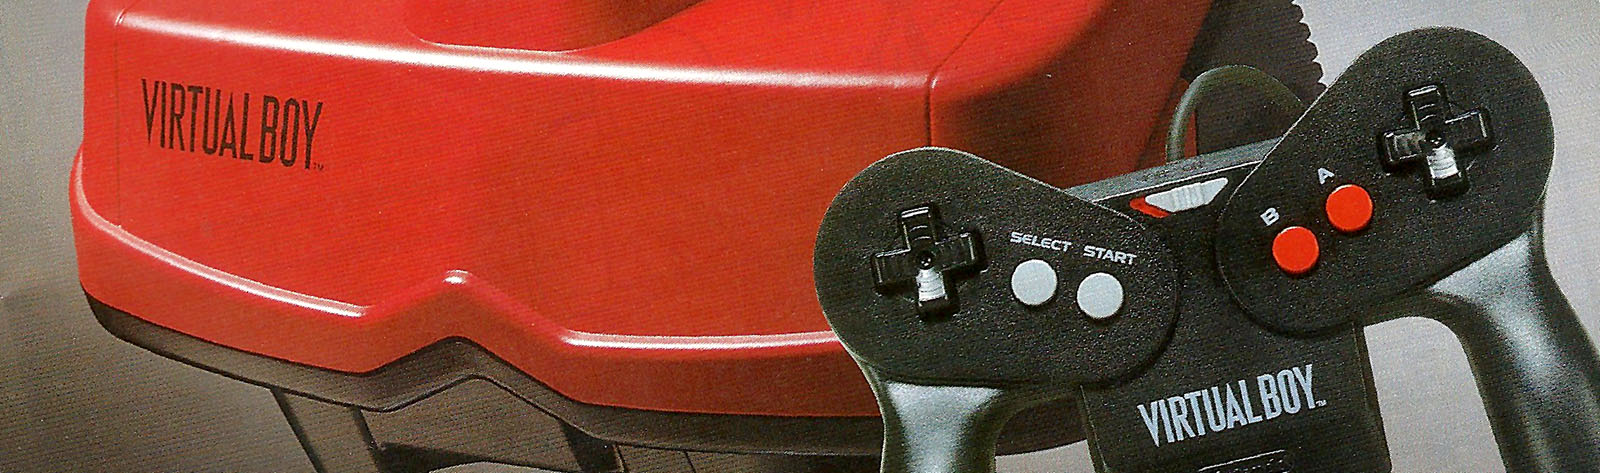
- バーチャルボーイ本体に
実演するソフト(カートリッジ)
をセットして下さい。 - コントローラの電池ボックスを
取り外し、ACアダプタタップを
セットして下さい。
<部品一覧>
①ボルト・・・・・・・・・・・・・・・・・・16個
②ナット・・・・・・・・・・・・・・・・・・12個
③ベース台・・・・・・・・・・・・・・・・1個
④スタンド止め金具・・・・・・・・4個
⑤本体、カートリッジ止め金具・・・A, B各1個
⑥コントローラ止め金具・・・・・A, B各1個
作業1: 本体を固定している部分 (スタンドのグリップ部分)
を本体・カートリッジ止め金具A, Bで
覆う様にはさみ、ボルトで固定する。
作業2:
コントローラ止め金具A、Bで
コントローラの
ACアダプタタップ
部分を上下からはさみ
ボルトで止める。
作業3: コントローラ止め金具で
止めたコントローラを
ベース台に取り付ける。
作業4: 本体・スタンドをベース台に取り付ける。
================================
Assembly Instructions
Before attaching the unit to the display stand
- Please insert the demonstration software (cartridge) into the Virtual Boy unit.
- Remove the controller’s battery compartment and attach the AC adapter plug.
<Parts List>
① Bolts・・・・・・・・・・・・・・・・・・16
② Nuts・・・・・・・・・・・・・・・・・・・12
③ Base Plate・・・・・・・・・・・・1
④ Stand Brackets・・・・・・・4
⑤ Main Unit and Cartridge Retaining Brackets... 1 each of A and B
⑥ Controller Retaining Brackets... 1 each of A and B
Step 1: Place Main Unit and Cartridge Retaining Brackets A and B over the part securing the main unit (the grip section of the stand) so that they cover it, and secure them with bolts.
Step 2:
Use controller retaining brackets A and B to clamp the AC adapter plug of the controller from above and below, then secure with bolts.
Step 3:
Attach the controller, which has been secured with the controller retaining brackets, to the base plate.
Step 4: Attach the main unit and stand to the base plate.