



Well, the thing about github is that you can easily get all the source/binary files for a project, people can be given access to collaborate on a project, and people can “watch” a project; to find out when it has changed and how.
I didn’t mean you should stop posting your progress here. It was just a suggestion to maybe streamline the process a bit.
Okay, now you have to define “close-up” 😛
If you want a picture that’s bigger than, say 256×240 from an SNES, you’re just going to be “making” pixels which simply aren’t there. There are dozens of algorithms for “intelligently” making those extra pixels, but there’s always going to be some kind of picture degradation.
Also, most or all of said algorithms are going to produce extra poor results from an NTSC composite signal, because of the decreased color bandwidth. And it gets even worse if your capture card uses lossy compression on-board.
Commodity S-Video cables for most of the consoles in your list are actually not that expensive. Plus, the one for SNES will also work on N64 and GC, and it’s the same for PS1/2/3; so it’s like getting six cables for the price of two! 😀 I’ve even seen one cable that does all three Nintendo consoles, all three Sony consoles, and Xbox (and 360 if it’s backwards compatible)!
Also, about the “print screen” thing: I’m not sure about a USB one, but the ISA/PCI/AGP capture cards I’ve used overlay the video directly on the video card’s output, so it doesn’t even exist on the level at which “print screen” operates.
Doesn’t the adapter have a Twain driver or something for capturing stills? If not, you can use Media Player Classic or VLC to take stills from the video feed.
But seriously, why can’t you just use a screen-shot from an emulator (except in the obvious cases)?
Using the phrases “high resolution” and “old-school console games” in the same sentence is slightly oxymoronic. 😉
For example, the SNES has a max resolution of 256×240. If your capture device is at least that resolution, you should be able to extract close to 100% of the original pixels (except the actual color values will vary due to the analog video signal). Also, I would use the lowest capture resolution you can and (for stills) use a program like IrfanView to scale it up, if needed.
What consoles, specifically, are you using, and how are you connecting them to the capture device? I would assume that S-Video is the best the capture card can do, without some hacking, so you’re going to be limited by that interface no matter what card you use. I don’t know of any capture cards that do PAL/NTSC RGB out of the box.
You might try getting the least amount of cable possible between the console and the capture device, i.e. use something like a gender-changer that’s basically two connectors back-to-back (except the SNES has a proprietary cable you’d have to hack, but you get the idea).
For consoles with RGB output, you could use one of these:
http://www.converters.tv/products/cga_to_vga/480.html
Hooked to one of these:
http://www.pixelsmart.com/vga.html
(Although, based on the PixelSmart description, you may be able to get by with it alone…)
One more thing: When console video is involved, this site is your friend 🙂
EDIT: Kind of expensive, but here’s an all-in-one solution: http://www.pluggedin.tv/sweetspot/features/index.html (found via: http://shmups.system11.org/viewtopic.php?f=6&t=27662&sid=033a977182bdd950dfa5f7f4994fabdc)
@Johnny: did you heat the NaOH solution? It has to be hot to dissolve the coating.
I don’t have experience with the NaOH method, but, from DogP’s description, 4-10% solution doesn’t sound strong enough. I also agree that soldering is pretty easy without removing the coating first.
Your “repair kits” idea sounds like a good solution.
Hedgetrimmer:
What about the sprung screws idea I mentioned in that PM? That would allow the medallion to move relative to the clamp bracket while preserving the front face and your hilarious logo 😀
True, the cost would be higher, but would a spring be more expensive than a machine screw and (locking) nut? (Maybe harder to source…)
Were I you, I would add the fillet and, if that fails, look into other types of plastic. I’m still not ready to make my PP version, but I’m definitely going to incorporate a fillet or chamfer into my design.
I agree with DogP; that is quite a clever solution, Pocket. But, how did you attach the “destroyed” medallion to the clamp? Some kind of glue, perhaps? I also like the little cushions you added to the “knees”. What are those?
Also, It’s probably not a good idea to run much “Corian” through a CNC machine, unless you have a cheap source of carbide end-mills. It’s made from various minerals (e.g. quartz) embedded in resin. Machining this stuff is probably harder on tools than PCB material.
Plus, you’d have to find another way to attach the clamp, since the original screws would definitely not work.
But asking around for free scraps is a good idea. Just go to a plastics fabricator, instead. Your town is bound to have at least one. I live in a small, mid-western town and have two within a few miles of my house. 😎
Hey, Hedgetrimmer, that looks great!
I’m still working on the tool-path for mine (my machine is severely limited in a number of ways, so it takes more work to make a working tool-path).
Hedgetrimmer wrote:
…
Not sure exactly what type of material it is, some kind of Polypropolene is my guess, but it machines quite well.
…
It looks more like high-density polyethylene (HDPE) to me, but I’ve seen neither HDPE nor polypropylene in red, so I may be wrong.
I’m actually planning to make mine out of PP. I haven’t cut it yet, but it looks/feels like it may cut even easier than HDPE, which always leaves little burrs around the cut for me (though that may just be my machine/tool/settings).
BTW, how did you do the black logo? Is it an inlay of some kind? Paint/ink?
Once again: well done! (Nice trick with the loupe, too ;-))
-
This reply was modified 16 years, 10 months ago by RunnerPack.
Csprunger:
You, sir, are quite welcome!
pocket:
That’s a good idea!
I used to do this to a washable air filter and I never made the connection to the VB visor… 😛
Tauwasser:
Like the manual says, that’s not a good idea… I can’t remember if I ever washed mine (I’m not big on reading manuals :-P) but it started peeling around the edges at some point. I’m planning to make a couple new ones out of thicker foam–like the prototype ones are always shown with.
http://www.vr32.de/modules/hardware/index.php?type=vb&sec=manuals
Specifically pages 20 and 21:
http://www.vr32.de/content/manuals/scans/usa/vboy_im_usa_20.jpg
http://www.vr32.de/content/manuals/scans/usa/vboy_im_usa_21.jpg
It’s the in-store demo version:
fobbio wrote:
What are the four colors it will detect?
As can be seen from the attached sample, VIDE takes the average greyscale value of a color (i.e. red + green + blue / 3) and performs a simple threshold on it as follows:
0 -> 63 = Black
64 -> 127 = Dark Red
128 -> 191 = Medium Red
192 -> 255 = Bright Red
I usually draw in grey and use the following four shades:
0 (or sometimes a little brighter) = Black
85 = Dark Red
170 = Medium Red
255 = Bright Red
If you want to draw in red and quickly get greyscale for import into VIDE, just do a “Convert to Grey” function (you can also reduce the saturation to 0) and then do a “Histogram stretch”. These two operations can be undone after exporting the image.
I hope that helps!
Attachments:

*BUMP*
I uploaded the source code (see first post) and it’s not even a whole year later! 😛
I’ve always been a fan of Lego blocks (especially the Technic ones) as well as building toys in general. With Legos, I often tried to build the model(s) they show on the box without looking at the instructions. Didn’t always work that well with the more complex ones 😛
There was one such building toy I really loved when I was about 12 called “Legions of Power”. I got the last one (on clearance) at Kay Bee with money I got for my birthday. It was specifically for building vehicles and included some really quite powerful motors and tons of wheels. I liked that set even more than the more popular Robotix, which I’ve also owned. All I have left is one, inanimate cube-shaped piece… *sniff* 🙁
EDIT: Here’s a pic of the one I had:
Attachments:


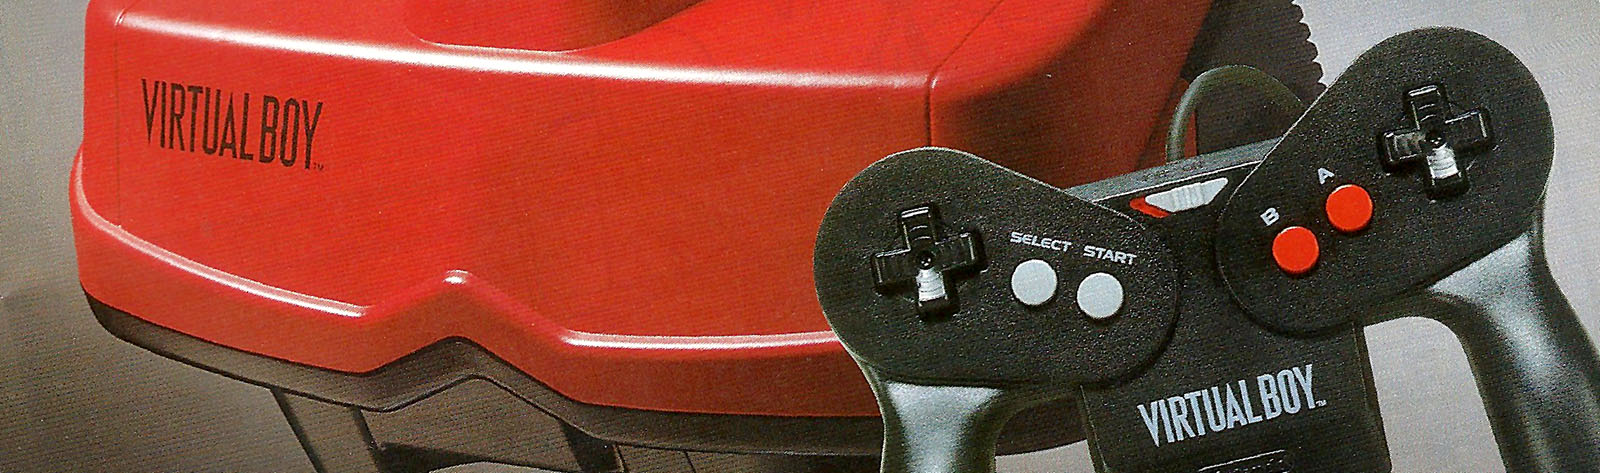
You can read all the marketing spin Nintendo put out to explain why, but it was red for exactly one reason: Red LEDs were the only ones available in the right combination of form-factor, price, and efficiency (with the possible exception of infrared 😉 [which is not technically a color :-P]). It does happen that red is easy on the eyes, though, especially when the total ambient light level is low. Just take a drive in a city at night and count red neon signs.
As for whether it would have caught on had they been white LEDs, I would have to agree with DogP. It wasn’t that it was red, it was that it was monochrome. People were used to even portable systems having color displays at the time, and saw the monochrome displays as a step backward in technology. Couple that with the average person’s low tolerance for pseudo-stereo displays and failure was inevitable…
I haven’t done a monetary comparison, but since color LCDs were available then and quite possibly cheaper (when you consider the R&D, tooling, and labor costs that had to have gone into the VB we know and love) I think they could have made a color machine for about the same price, albeit with a lower resolution. And that’s not even considering the fact that they could have used LCD technology for the source of the light in the scanner displays and had the best of both worlds.
Basically, I think they should have waited until after the N64 to enter the VR field. They could have thrown a bigger budget and newer technology at the problem and made a superior product deserving of the price they asked for the VB. They could have even made it an add-on to the N64. In fact, they could still add on to the Wii 😉
Castlevania: Portrait of Ruin
AMOS – 064 644 284 798
Your best yet, but not by much!
I know who to go to when (if… :-P) I need music for a vb project 😉
Hi, Bret!
Congrats on getting one that doesn’t exhibit display problems!
I would definitely get Galactic Pinball and Red Alarm.
If you like shmups, there’s Vertical Force.
Panic Bomber is a decent puzzle game, as is V-Tetris.
Basically, get any VB game you can get your hands on, since there are so few, but I would focus on these first (depending on your preferences).
And, of course, get a FlashBoy if you can 😉
Well, I didn’t mean you have to change glasses, just that you should compensate for the red color. There are ways to make a red/cyan anaglyph of a red image, with less retinal-rivalry and while still giving a sense of the red color of the object. Just look through the various options of the SPM software I linked to.
With a bit more care in registering the images, these would look really good! Also, since the VB (and related items) have a lot of red, you should think about reducing the saturation of the red channel somewhat, or switching to a monochrome anaglyph.
The best software I’ve found for manipulating stereo images is Stereo Photo Maker:
http://stereo.jpn.org/eng/stphmkr/
It has great alignment and color adjustment screens, and every output option you could ever need. It’s pretty easy to use, too.
And when you get ’em all sorted out, you should take a bunch of your pairs and make a slideshow app for the VB.