
Look up polycast that got many colors get white but hardness will make big difference to hard it will Crack to soft it will flex to much I think that hack samples u can order to see what hardness u want
U looking for the gel cast or the epoxy resin I use to cast the part ?
retronintendonerd wrote:
What casting set do you use? I
If u ship me the broken console and 60$ I’ll ship u a working unit with the screens that have the permanent fix done to them so u never have the bad fibon problem let me know
The air bubbles are easy to fix I need a good oem part with 0 cracks the one I casted had repair work done to it and the section with the imprifections is the chunk that I had to make with some bondo compared to the 3d printed model it’s way stronger I’ll try to figure out how to re cast the mold
I got some reproduction ones I casted there strong it’s same hardness and flex as a hard hat so no cracking there 30$ canadian each let me know
Attachments:

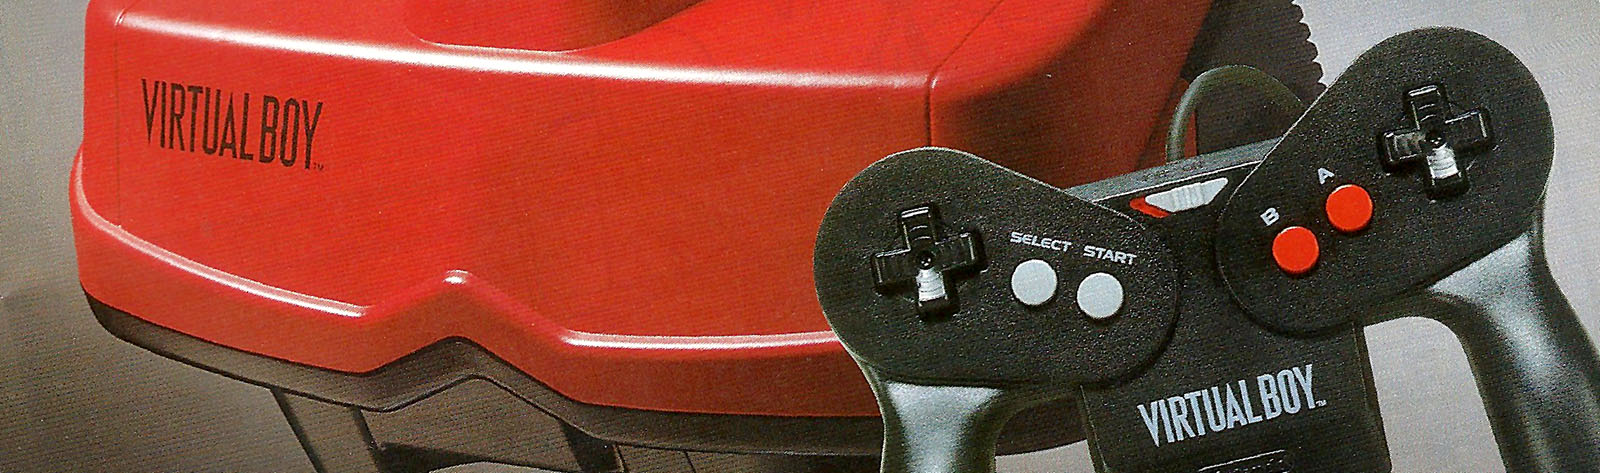
Casting in black and other colors is posible I only get one tiny air bubble in the cast I did a few so far there strong as hell but have a tiny bit of flex to them almost like a hard hat so no more cracking lol messing with different brands of casting resin so far found one that sets to fast but gets vest detail the part I casted was glued back together so u can see the seams I wish a had a clean one to make a mint mild with I’d say 30$ Canadian each seems fair what u guys think I’m working on the entire stand as well next I’ll keep u guys posted
Here’s one in black to
-
This reply was modified 10 years, 12 months ago by
drunkencat.
Attachments:


Still dead on my kb lol got a new switch on order for it lol a s d and w needed the switches more lol
lmao looks like a bra on the vb lmao
Y drill the oem stand lol just make an adapter and use the 2 screw holes so u can put it back to oem if u want i like to make all my stuff and mods so there plug in play or able go back to oem if thay like
if u want i can do the repair on ur system if u know how to pull the lenses shipping is way cheaper if u just send me them both in mail but if u sent me entire system ill hook u up because u payed to ship it in in box me ill let u know price thanks
the detail the gel cast made was amazing im going to remake a cast the one i did was a 1 part cast next one is a 2 part so i can control the flashing more on the cast best part it captures every detail amazing i need to build a vac chamber to take the air out of the castings when there setting ill mess with color so far i got clear and white im looking in to jet black but closest iv found is gray and smoke black
im going to try to cast the full stand and see how it turns out got my 1 gal of casting resin so lets see how it goes ill keep u guys posted
PS can admin move my thread to
“Main Virtual Boy Discussion” thanks
In box me I’ll send u a diagram on how to build a new voltage regulator from scratch made one for mine when I plugged a USA nes adapter in to it lol
i figured it out u dont need to open the padder file u just need to drag and drop the rom over the padder icon there needs to be a how do made with some more description lol
tryed that same thing wont make new file i even i even tryed right clicking on the padder program and runing it as admin still same result no new file was made im useing windows 7 will that make a diffrence ? also all my roms are located in the same folder as the padder program exe still get nothing
o im useing the padder program that is hosted on here
i got a 3ds and what pokemon game u want to trade for
Baptist wrote:
lol you guys are crazy… just buy a new unit 😛
never lol
MineStorm wrote:
Hope it works, be interested to see results.
OK, apart from the centre of the base. The inner cylinder wasn’t attached to anything.
the reason the middle is weak is in the stl there’s a circle if u look it’s not x filling around it only circle filling so it’s weak try to remove the circle line and add 3 mm of thickness that should bulk it up to make it stronger
What’s tge issue with my model I dident include the ratchet because it whould be weak I wanted to fill the gap in side and use a different method so u can get full rance of motion and it’s can be drilled so u can add it to a desk light stand easy as well
Here is a test print on a maker replicator 2 gen 5 printer dam things pissing me off Im prob better off with a diy printer what printers u guys useing
P’s prints In pla
-
This reply was modified 11 years, 10 months ago by
drunkencat.
-
This reply was modified 11 years, 10 months ago by
drunkencat.
Attachments:


HorvatM wrote:
MineStorm wrote:
I can’t test them because I don’t have a stand for my VB.Then what are you waiting for? Print one!
Seriously though, would that be possible? The prices of stand-alone (pun not intended) stands and stand components on eBay are ridiculous.
i know what u mean lol i already made the metal part for the stand and the legs 😛 all i need is to finish it my goal is for a totaly diy stand best part it good for the avrage guy who wants to own a vb and use it with out duck tapeing it to his head lol
does it clip to the vb properly ???
i also made a mistake if u look at the small clip part its to narrow on the part that hooks the console i need to re post the updated stl for that part let me know how fitment is
here is updated file
-
This reply was modified 11 years, 10 months ago by
drunkencat.